
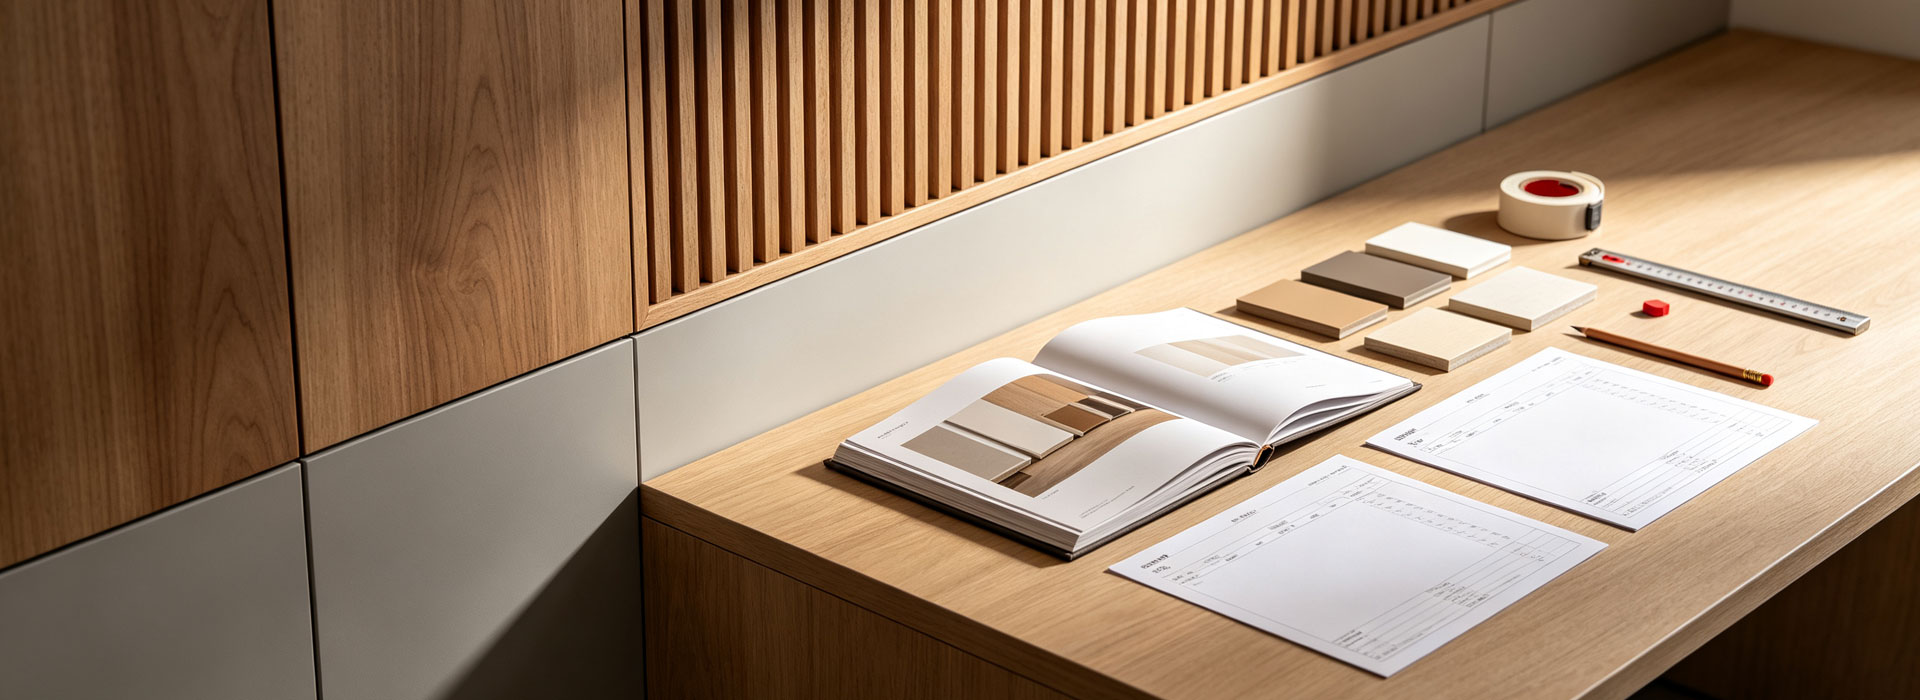
Installation Guide
Step-by-step WPC wall panel installation guide: tools and materials, adhesive vs mechanical vs hybrid methods, pro tips, video and FAQ for DIY homeowners and contractors.
Tools & Materials
Adhesive warning: Always use an MS-polymer (solvent-free) adhesive on WPC panels. Solvent-based contact cement attacks the plastic matrix and causes bond failure within 6–18 months.
Step-by-Step Installation
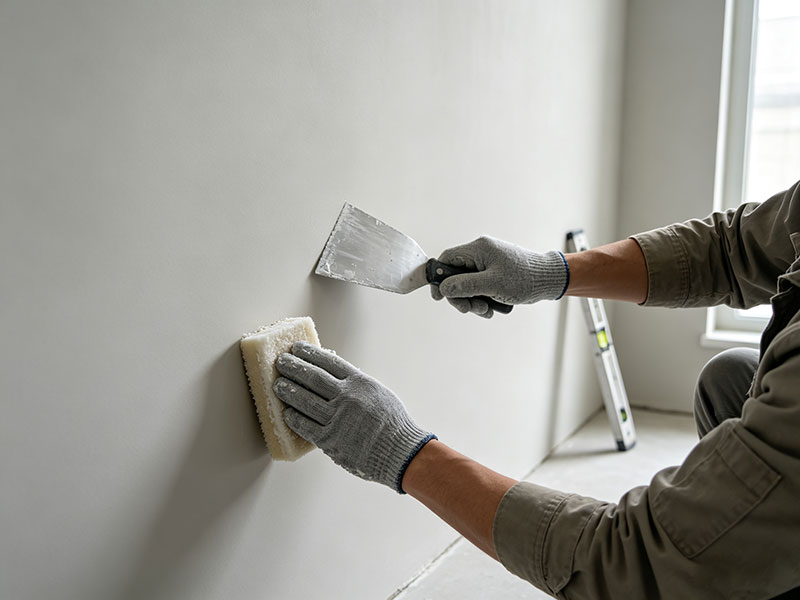
Prepare the Wall
Make sure the substrate is clean, dry, sound and flat. Remove dust, grease and loose material; repair cracks. For bathrooms or damp areas, install a waterproof backer board (cement board or waterproof drywall + membrane) first.
The flatter the wall, the faster and cleaner the install. Aim for ±2 mm over 2 m.
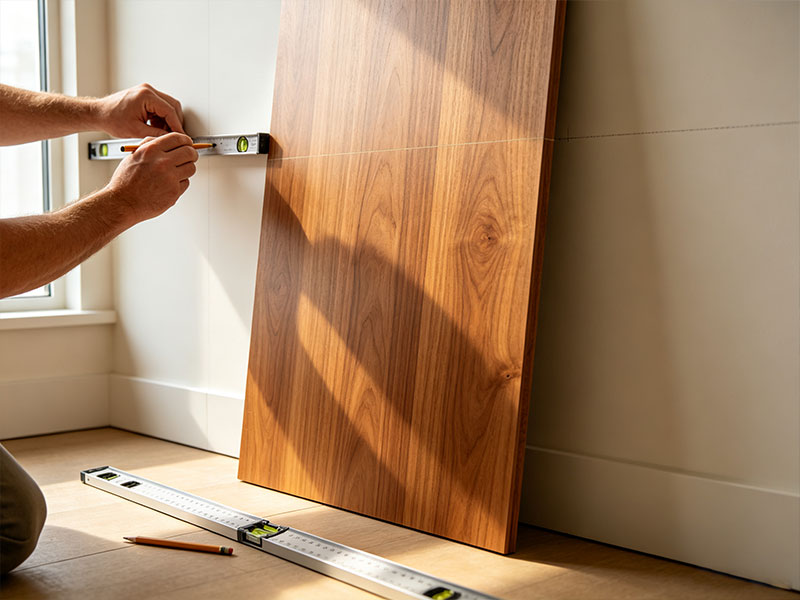
Measure & Plan Layout
Measure wall height and width. Use a level to draw reference lines and decide panel orientation (vertical, horizontal or brick pattern). Start from a corner and plan cuts around sockets, windows and doors. Dry-fit panels before gluing to confirm alignment and minimise waste.
Confirm the grain / pattern direction before cutting so the finish stays continuous across the wall.
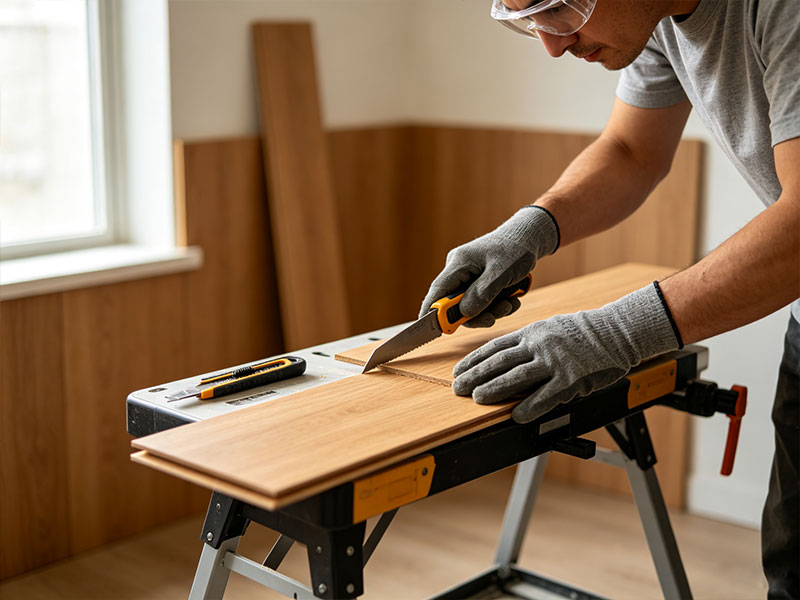
Cut Panels
Cut panels to your layout with a fine-tooth saw or utility knife. For the last panel in a row, trim off the tongue side so it seats flush. Leave an expansion gap of about 5 mm (≈1/5″) at the top, bottom and all edges.
Remember the margins: leave ~5 mm expansion gaps everywhere to allow for thermal movement.
Apply Adhesive
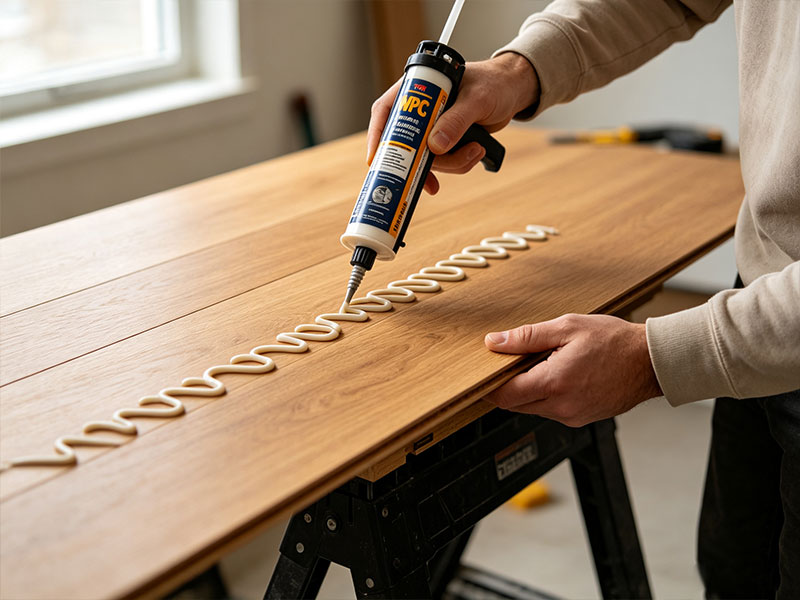
Apply a serpentine bead of MS-polymer adhesive to the back of the panel, keeping clear of the edges. Press the panel firmly against the wall and check flatness immediately with a straightedge. Work row by row for easier alignment.
Tip: apply adhesive to the wall (not the panel) for the final row to keep things tidy.
Connect Panels (Tongue & Groove)
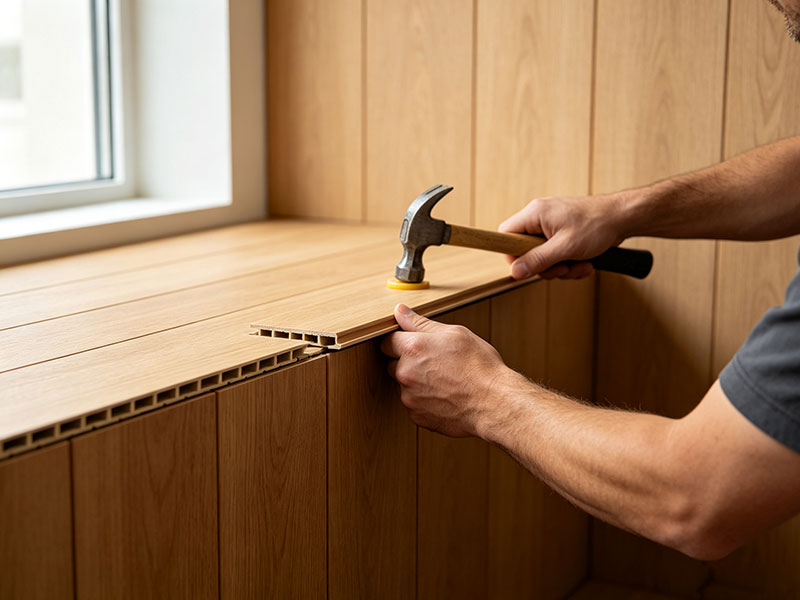
Insert the tongue of the new panel into the groove of the previous one at a slight angle, then slide and tap it home with a rubber mallet. Check the seam and level. A suction cup makes large panels easier to handle. For mechanical or hybrid systems, fix the clips to the wall first.
Wear a glove or use a suction cup for a tighter, safer fit on large-format panels.
Install Trims & Profiles
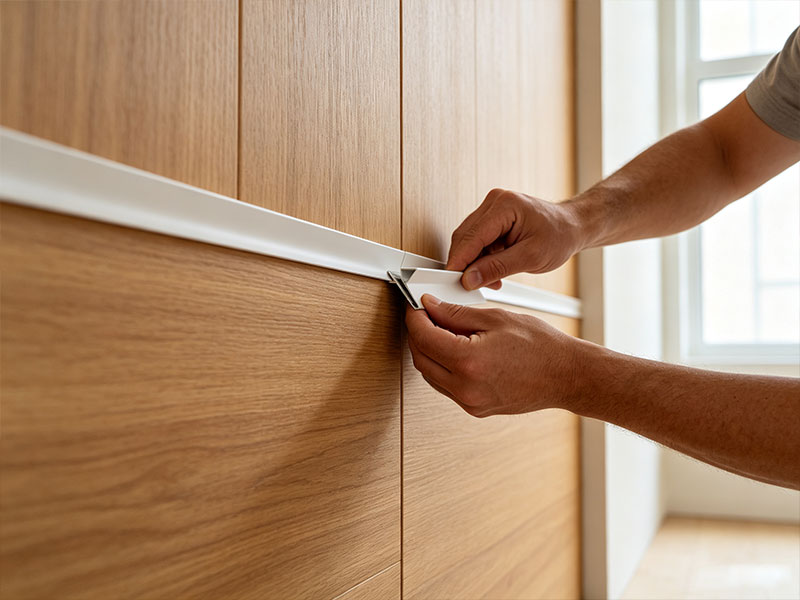
Finish edges with J-trim, internal/external corner profiles and top/bottom moldings. Proper trim hides cut edges, protects the wall system and gives a clean, professional look while extending service life.
Seal Gaps
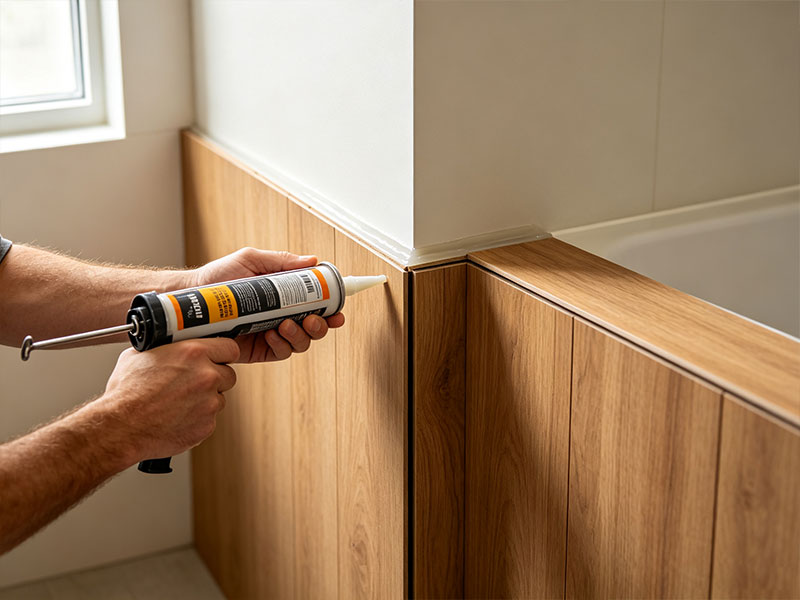
In wet areas, run a bead of silicone at the top, corners and any cut edges. The tongue-and-groove joint itself is water-resistant, so you do not need to seal the interlock — only the perimeter.
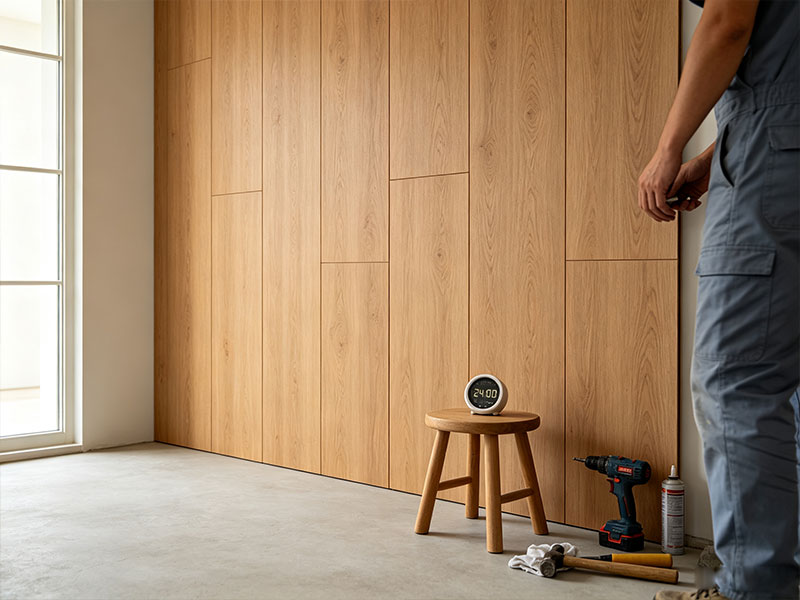
Let Adhesive Cure (24h)
Allow the adhesive to fully cure for about 24 hours before drilling, mounting accessories or hanging heavy items. Plan accessory installation as a short return visit.
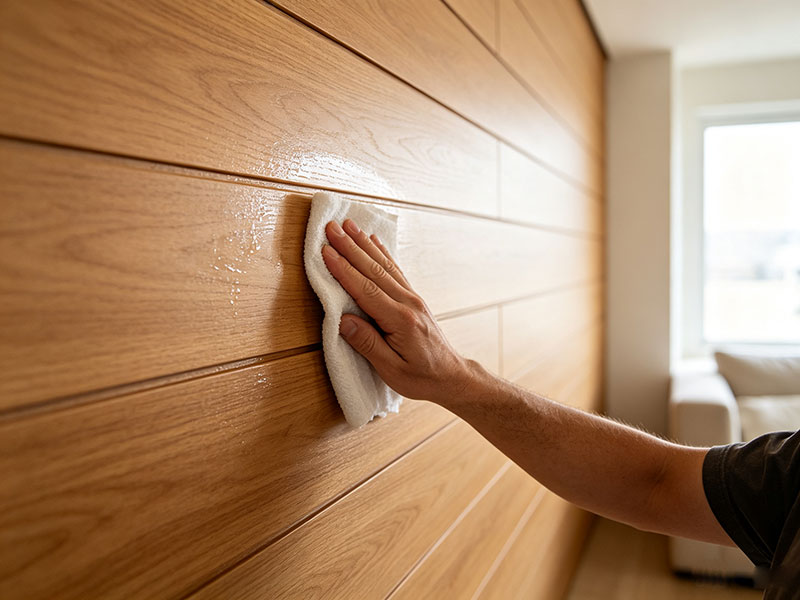
Done & Clean Up
Wipe the surface with a soft, slightly damp cloth. Your WPC wall is ready to use — waterproof, low-maintenance and built to last.
Installation Methods Compared
WPC wall panels can be fixed three ways. Pick the one that fits your substrate, budget and project scale.
Mechanical
Screws, clips or brackets to a frame
- Best for: stud walls, feature walls
- Speed: 1.5–2.5 days / 100 m²
- Skill: Medium (carpentry)
- Pros: removable, strong, floating look
- Cons: more labor, visible fixings if not clipped
Adhesive
Direct bond with construction adhesive
- Best for: clean, flat, sound walls
- Speed: 1–1.5 days / 100 m²
- Skill: Low–medium
- Pros: fastest, lowest material cost
- Cons: needs perfect substrate; higher failure if rushed
Hybrid
Clips + adhesive stripes combined
- Best for: large panels, exterior, thermal zones
- Speed: 1–2 days / 100 m²
- Skill: Medium
- Pros: lowest lifetime cost, tolerates irregularities
- Cons: slightly higher upfront cost
Field data from LeadFlow projects
| System | Cost /m² | Speed (m²/day, 2 ppl) | 5-yr failure | Best application |
|---|---|---|---|---|
| Wood furring + screws | $12–18 | 40–55 | 2.3% | Residential interiors |
| Steel furring + hidden clips | $20–28 | 35–45 | 0.8% | Hotels, commercial, feature walls |
| Full adhesive (MS polymer) | $10–15 | 55–75 | 4.2% | SPC, lightweight WPC, flat walls |
| Hybrid (clips + adhesive) | $18–24 | 40–50 | 1.1% | Large-format, exterior, thermal-cycling |
| Direct adhesive (dot-dash) | $7–10 | 70–90 | 12–18% | Temporary / low-performance |
Key insight: the cheapest method is not the most economical over the product's life. Hybrid and steel+clip systems cost more upfront but deliver the lowest lifetime cost and failure rate.
Pro Tips for WPC Panels
Always leave ~5 mm expansion gaps for thermal movement.
Use only MS-polymer (solvent-free) adhesive — never solvent-based cement on WPC.
For uneven walls, add furring strips or a backing board before fixing.
Avoid placing panels against direct heat or prolonged strong sunlight.
Clean with mild soap and water — no abrasive or solvent cleaners.
For large commercial jobs, run a small pilot install before full rollout.
Installation Video Demo
WPC Wall Panel Installation Demo
Frequently Asked Questions
Can WPC panels be installed on uneven walls?
Can I install them directly over existing tiles or old walls?
Are WPC panels waterproof? Can they go in bathrooms?
What adhesive should I use?
Can WPC panels be installed on the ceiling?
How do I cut WPC wall panels?
Request Installation Support or a Bulk Quote
Tell us your panel type, area, substrate and destination port — our team replies with specs, samples and factory pricing within 12 hours.
Need Installation Support or the Full Catalog?
Reach our sales team on WhatsApp for a fast response, free samples and OEM support from our 20,000 m² production base.